During my first attempts with Swift UI, I tried desperately to figure out how to select the active tab programmatically. The trick is in the binding.
@State public var selection = 0
With a click on the button selection tells the value one. Since Selection is directly linked to the tab bar, the active tab item changes as desired.
Button("Go",action: {self.selection = 1})
Binding is the access token that you can pass to allow direct read and write access to the value without granting possession (in the sense of retaining a reference type) or copying (for a value type).
When the user selects a tab in the tab view, he or she changes the value unilaterally via binding and assigns the corresponding .tag(…) to the selectedTab variable. This works the same way for @State and ObservableObject.
The programmer can also assign a value to this selectedTab variable at any time – and the TabView immediately switches the displayed tab.
This is the key to programmatic navigation in SwiftUI.
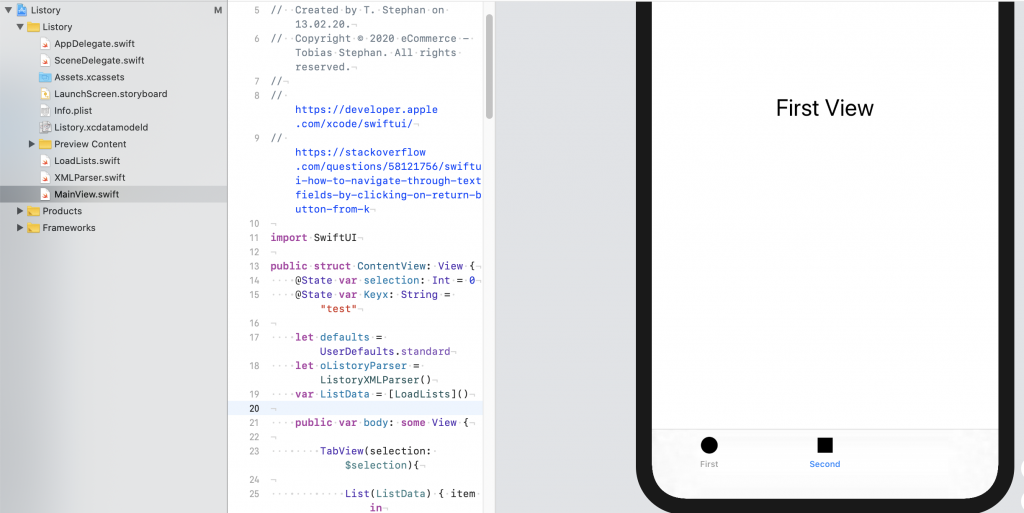
Here is an example that you can copy / paste directly to play around with it.
import SwiftUI
struct ContentView: View {
@State public var selection = 0
let defaults = UserDefaults.standard
var body: some View {
TabView(selection: $selection){
VStack {
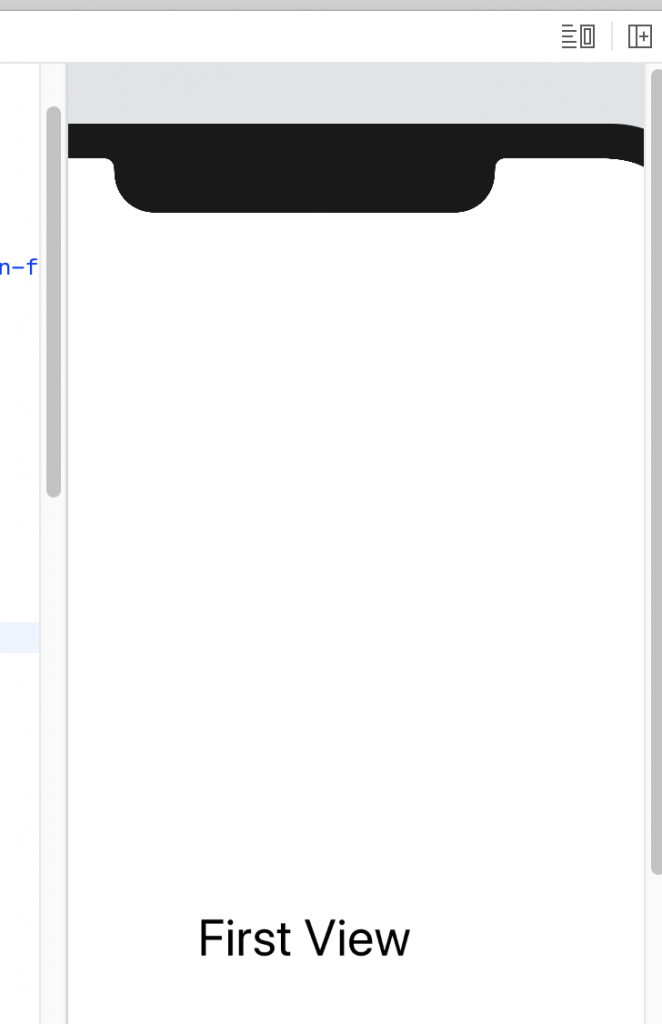
Text("First View")
Button("Go",action: {self.selection = 1})
}
.font(.title)
.tabItem {
VStack {
Image("first")
Text("First")
}
}
.tag(0)
Text("Second View")
.font(.title)
.tabItem {
VStack {
HStack{
Image("second")
Text("Second")
}
}
}
.tag(1)
}
}
}
struct ContentView_Previews: PreviewProvider {
static var previews: some View {
ContentView()
}
}